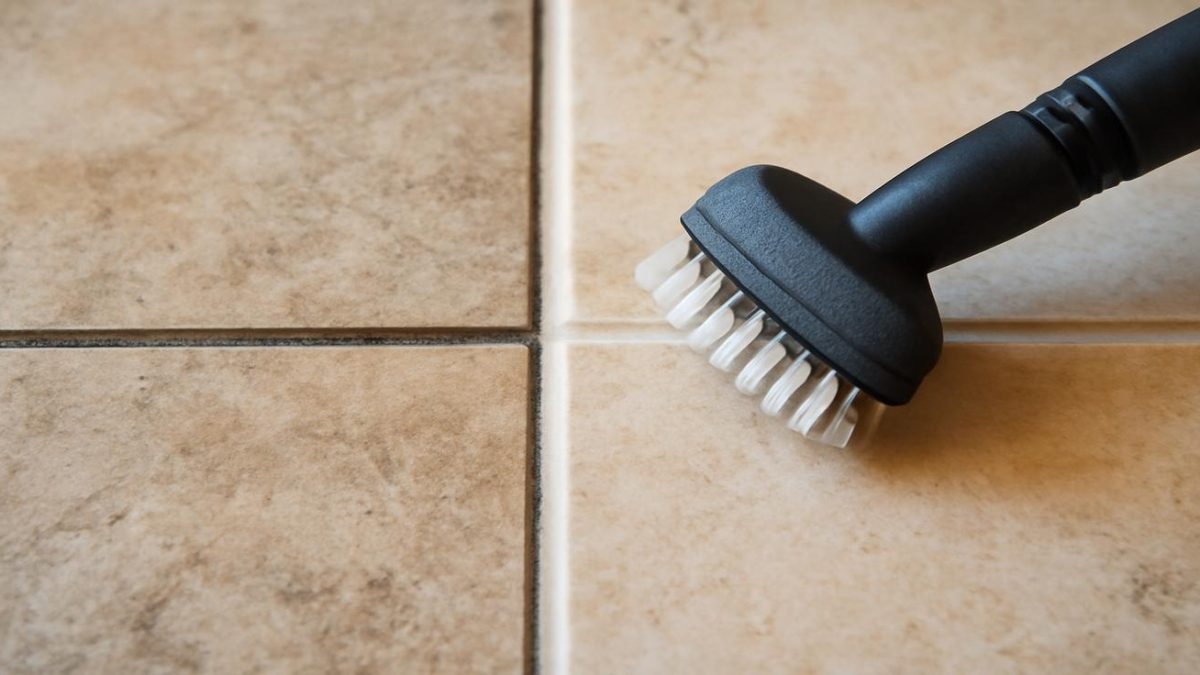
There’s nothing quite like the disappointment of gazing at your freshly mopped tiles, only to realize the grout lines still look like they’ve been neglected for years. You’ve probably already tried the conventional wisdom—scrubbing until your hands ache, reaching for bottles of bleach or vinegar, only to find the results are underwhelming. What if I told you there’s a better way that doesn’t involve toxic fumes, harsh chemicals, or endless scrubbing? The solution is simpler than you think, and it’s likely already sitting in your kitchen cabinet.
Why Traditional Methods Fall Short
Before we dive into the game-changing solution, it’s worth understanding why so many popular grout-cleaning methods disappoint. Bleach can be effective at killing mold and mildew, but it doesn’t always address the root cause of discoloration. Vinegar’s acidic properties make it seem like a logical choice, yet it can actually damage certain types of grout over time, particularly those containing natural stone. Oxygen-based cleaners promise results but often require extended soaking periods and multiple applications.
The real issue is that most people attack the symptom rather than the problem. Dark grout isn’t always caused by dirt alone—it’s often a combination of mineral deposits, trapped moisture, soap residue, and yes, some genuine grime. A one-dimensional cleaning approach rarely handles all these issues simultaneously.
The Baking Soda and Hydrogen Peroxide Revelation
Enter the dynamic duo that’s been flying under the radar for years: baking soda and hydrogen peroxide. This isn’t rocket science, but it works with surprising consistency. The beauty of this combination lies in its chemistry. When baking soda meets hydrogen peroxide, it creates a gentle yet effective oxidizing paste that lifts discoloration without the aggressive nature of chlorine bleach.
Hydrogen peroxide at standard household concentration (typically 3%) is strong enough to break down organic stains and mineral deposits without damaging your grout or tiles. Baking soda acts as a mild abrasive and alkaline agent, balancing the peroxide’s acidic properties. Together, they form a paste that clings to grout lines and works at the molecular level to restore their original color.
The Simple Formula That Delivers Results
The magic ratio is straightforward: three parts baking soda to one part hydrogen peroxide. Start with half a cup of baking soda and approximately three tablespoons of hydrogen peroxide. Mix them in a small bowl until you achieve a thick, spreadable consistency—think of it as similar to toothpaste or peanut butter. It should be thick enough to stay on the grout without running off immediately.
Some people prefer adding a small amount of dish soap to the mixture, creating an additional cleaning agent that helps break down stubborn deposits. A single drop or two is sufficient. This addition isn’t necessary for most situations, but if your grout is particularly darkened, it can provide a modest boost.
Application Technique Matters More Than You’d Think
Now comes the part where many people rush and subsequently complain about mediocre results. Don’t just slap the paste on and immediately scrub. Instead, apply the mixture generously along the grout lines and let it sit for five to ten minutes. This resting period is crucial—it allows the hydrogen peroxide to work on the stains while the baking soda’s mild abrasive properties begin breaking down deposits.
After waiting, use an old toothbrush or a specialized grout brush to gently work the paste into the lines. The key word here is gently. You’re not trying to pulverize the grout; you’re simply helping the paste do its job. Use small, circular motions rather than aggressive back-and-forth scrubbing. This approach is far less likely to damage the grout or tire out your wrists.
Once you’ve worked the paste through all affected areas, let it sit for another five to ten minutes before rinsing thoroughly with water. A spray bottle makes this step easier and more controlled. Make sure you rinse well, as any remaining residue will create a white film that you’ll need to clean again.
Why This Method Outperforms The Competition
This approach succeeds where others fail for several compelling reasons. First, it’s genuinely safe—both for your family and for your grout. There are no toxic fumes to worry about, no accidental mixing of dangerous chemicals, and no risk of bleach discoloring your tiles or damaging your lungs.
Second, it’s economical. A box of baking soda costs mere dollars and lasts for dozens of applications. A bottle of hydrogen peroxide is equally inexpensive. You’re spending less than the cost of a specialty grout cleaner while often achieving superior results.
Third, it actually works on multiple types of staining. Whether your grout is darkened by mold, mineral deposits, or simple dirt accumulation, this paste addresses all of these issues. It won’t strip away the grout’s protective sealant like some harsh chemicals do, maintaining your grout’s integrity for the long term.
Maintenance: Keeping Your Grout Spotless Long-Term
Once you’ve restored your grout to its former glory, maintaining it becomes significantly easier. Monthly applications of this baking soda and hydrogen peroxide paste will prevent heavy buildup from returning. This preventative approach means you’ll never again face those months of stubborn, blackened grout that seems impossible to clean.
Additionally, ensure your bathroom or kitchen has adequate ventilation. Moisture is the enemy of grout, encouraging mold and mildew growth. A simple exhaust fan or keeping windows open during and after showers can dramatically extend the time between deep cleanings.
The Bigger Picture: Reclaiming Clean Floors Without Compromise
The journey to spotless tiles doesn’t require you to sacrifice safety, bankrupt your budget, or spend hours hunched over grout lines with industrial-strength chemicals. Sometimes the most effective solutions are the simplest ones, hiding in plain sight within your existing household supplies.
The next time you face those darkened grout lines, remember that success doesn’t come from stronger chemicals or more aggressive scrubbing. It comes from understanding the chemistry behind effective cleaning and applying that knowledge strategically. Your tiles deserve better than harsh treatment, and so do you. Give this method a try, and prepare to be genuinely impressed by the transformation.


Leave a Comment